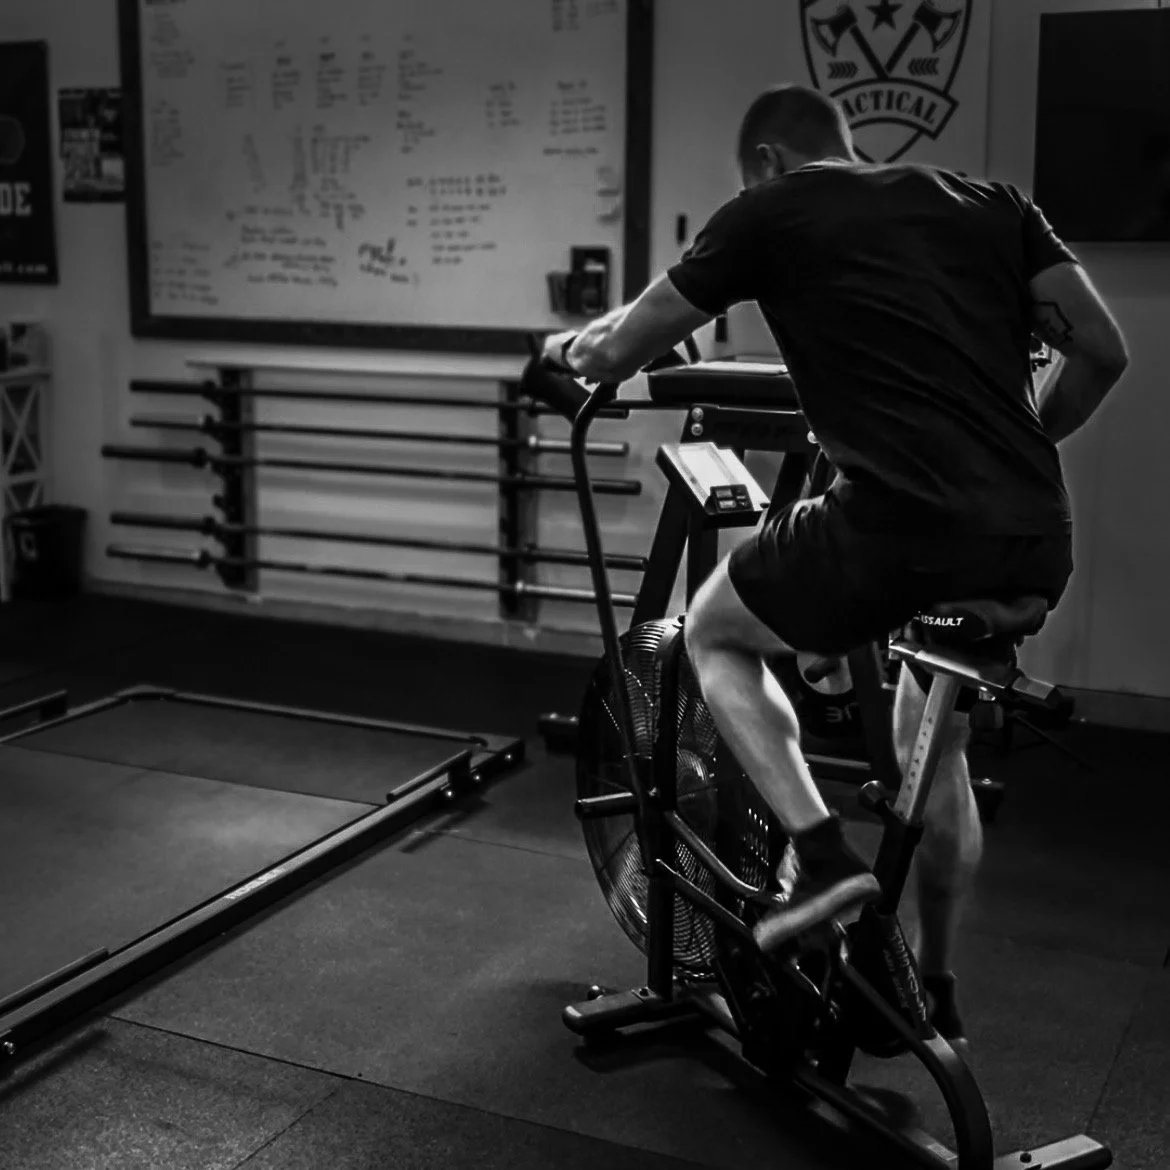
The 6-minute
Airbike test
Measure your
Maximal Aerobic Power.
Establish personalized training zones.
Train with precision.
Developed by Eric Haskins, CSCS, TSAC-F
-
The 6-minute AirBike test measures your maximal aerobic power — the highest output you can sustain before fatigue forces you to slow down.
Unlike longer threshold tests, this protocol targets the severe-intensity domain, where oxygen uptake rises toward maximum and true conditioning capacity is exposed.
Your average watts from this effort (P6) become the anchor for all training zones.
One test.
Four zones.
Objective pacing.Train with precision — not guesswork.
-
Equipment: Assault Bike or Echo Bike set to display watts.
1. Warm Up (12–15 Minutes Total)
5:00 easy spin
3:00 moderate build
3 × 30 seconds hard effort
60 seconds easy between efforts
3:00 very easy spin
Rest 2–3 minutes before starting the test.
2. Set the Bike Correctly
Before beginning the test:
Select a 6:00 Target Time on the monitor
Ensure the display shows watts
Reset the screen before starting
If the monitor is not set to a 6-minute Target Time, you will not get an average watts (P6) upon completion of the test.
3. The Test (6:00 Total)
Ride as hard as you can sustain for 6 minutes.
This is not a sprint.
It is not a tempo ride.
It is a controlled, maximal effort.Pacing standard:
First 60–90 seconds: Build, don’t sprint
Minutes 2–5: Lock into sustainable suffering
Final minute: Empty the tank
Power should remain relatively stable throughout the effort.
If you fade dramatically after minute two, you started too hot.The goal is accuracy — not survival.
4. Record Your Score
At the end of 6 minutes, record:
Average watts (P6) — this is your anchor number
Optional: average heart rate
Personalized pacing zones are specific to the bike as the Echo and Assault Bike are calibrated differently.
Use the same bike model each time you train and retest for consistency and precision.
Retest every 6–8 weeks to measure improvement.
Capacity > Demand.
-
1. Sprinting the First Minute
If you go out too hard, power will collapse after minute two. Build gradually and settle into a strong, sustainable effort.2. Pacing Too Conservatively
This is not a tempo ride. The effort should feel uncomfortable by minute two and progressively demanding through minute six.3. Inconsistent Bike Setup
Air bikes vary slightly between models. Use the same bike (Assault or Echo) each time you retest for accurate comparisons.4. Ignoring Power Fade
A drop greater than 8–10% from your early-minute average usually indicates poor pacing. The goal is controlled intensity, not early burnout.5. Testing Without Recovery
Do not test after a hard training session. Treat this like a performance assessment — show up fresh. -
Your 6-minute average watts (P6) represent your maximal aerobic power — the highest output your cardiovascular system can sustain before fatigue forces you to slow down.
In simple terms, P6 reflects:
How much oxygen your body can use under stress
How much power your heart can deliver to working muscles
How long you can sustain high output before breakdown
This number becomes your conditioning standard.
Not calories.
Not guesswork.
Watts.From this single test, we establish four training zones — each targeting a specific physiological adaptation.
How the Zones Work
Zone 1 – Recovery
Low intensity. Used between intervals to clear fatigue and reset the system.
Zone 2 – Aerobic Base
Builds your engine. Improves stroke volume, mitochondrial density, and long-duration work capacity.
Zone 3 – Lactate Threshold
Trains your ability to sustain high output under load. This is where durable fireground performance is built.
Zone 4 – VO₂max
Raises your ceiling. Increases maximal oxygen uptake and repeat high-output capacity.
Each zone serves a purpose.
Train in the right zone → get the right adaptation.Train randomly → get random results.
Your conditioning should be intentional.
-
Now that you know your P6 and training zones, here’s how to apply them.
Each session below uses the watt ranges generated from your calculator.
🟢 Zone 1 – Recovery Flush
Purpose: Clear fatigue between hard sessions
Workout:
15–20 minutes continuous
Stay below your Zone 1 ceiling
Nasal breathing only
This should feel almost too easy.
If heart rate isn’t dropping, you’re going too hard.
🔵 Zone 2 – Aerobic Base Builder
Purpose: Build your engine
Workout Option A:
30–45 minutes continuous
Stay within your Zone 2 watt range
Workout Option B:
3 × 12 minutes in Zone 2
2 minutes Zone 1 between rounds
This builds:
Stroke volume
Mitochondrial density
Long-duration work capacity
This will build your Aerobic Base and in the words of Louie Simmons, “The Wider the Base, The Taller the Peak'“.
🟡 Zone 3 – Threshold Intervals
Purpose: Sustain high output under fatigue
Workout Option A (Norwegian 4×4):
4 × 4 minutes
Top half of Zone 3
3 minutes Zone 1 between rounds
Workout Option B:
3 × 8 minutes in Zone 3
3 minutes Zone 1 recovery
Hard but controlled.
You should be able to repeat all rounds without collapse.🔴 Zone 4 – VO₂max Intervals
Purpose: Raise the ceiling
Workout Option A:
5 × 3 minutes
Zone 4 watt range
3 minutes Zone 1 between rounds
Workout Option B:
8 × 2 minutes
Upper Zone 4
2 minutes Zone 1 recovery
These should feel demanding and unsustainable without recovery.
If power drops more than 8–10%, adjust slightly downward.
Programming Guidance
1–2 Zone 2 sessions per week
1 Zone 3 session
1 Zone 4 session (optional depending on recovery)
Zone 1 used between intervals or on off days
Train with intent and precision.
Each zone produces a specific adaptation.
6-MIN AIRBIKE CALCULATOR
Enter your P6 (6-minute average watts). Optionally enter your average heart rate to generate personalized HR zones.
